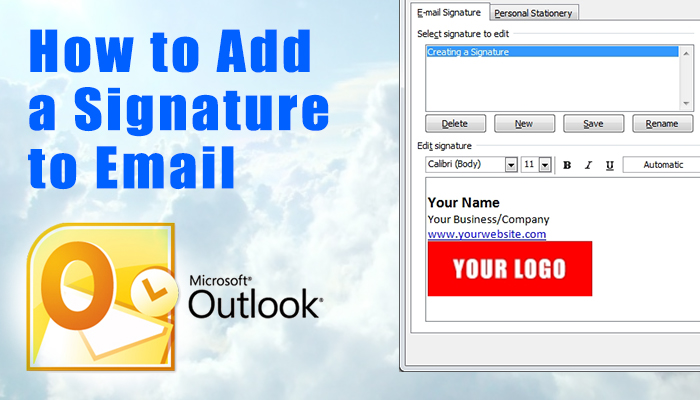
Ever wonder how to get your very own email signature in outlook? Now you can by following the steps below. Having a signature in your email is the best way to represent your business or to look professional.
Creating A Email Signature
- Open Outlook.
- Goto the “File” tab on the top left window.
- Click on “Options”.
- On the left navigation menu, select “Mail”.
- Look for the line that says “Create or modify signatures for messages”. Click the button that says “Signatures”.
- Click the button “New” and enter any name.
- In the “Edit signature” field, enter your text. Signatures can include anything from name, address, website link, social media links, etc.
- To add a photo (logo, picture, icon, etc.), click on the small image icon (right next to Business Card). Search for a jpg or gif in your computer.
- To scale your photo, click on it and drag one of the corner edges.
- Where it says “Choose default signature”, select the email account you want to associate the signature with.
- For both “New messages” and “Replies/forwards”, select the name you entered in Step 6.
- Click save and your all done.
Alternative Way of Adding Logo/Photo to Signature
As mentioned above in step 8 you can simply add a photo by clicking on the image icon and selecting a file from your computer. But what if you don’t want to add a logo/photo that way? Here’s an alternate solution, you can copy and paste your logo/photo from any document or if for some reason copy/paste does not work for you, you can also upload a photo (jpg or gif) to your web server or to a photo sharing service like Photo Bucket. Access your photo through the web like this http://yourwebserver .com/yourphoto.jpg, once the photo is visible on the screen, you then can right click, and select copy, go back into your signature field and click paste.
Any questions you may have, feel free to leave a comment below. Thanks for reading.

