

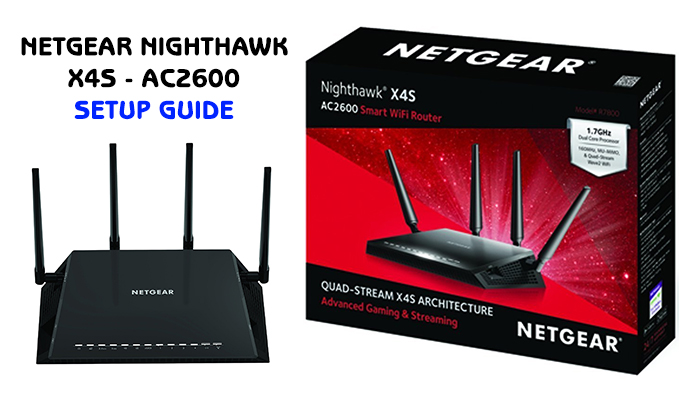
The Nighthawk X4S AC2600 is the fastest NETGEAR Dual Band Smart Router today. Packed with a ton of powerful features such as Quad Stream Wave2 WiFi, Multi-User MIMO, X4 Architecture, USB 3.0/eSATA ports for external storage, plus more. The X4S router is the perfect solution for lag free gaming and super fast video streaming in your home or office.
In our setup guide, we show you how to install and get your X4S (AC2600) smart router operational.
Setting Up and Installing Your X4S AC2600 Router:
- Unbox all of the accessories which includes the router, power adapter, Ethernet cable, four antennas, and the user manual.
If you have an existing router connected, disconnect it (remove Ethernet cable and power cord) and write down the existing WiFi SSID name and Password. Keep the existing Ethernet cord connected to the modem.
- On the AC2600 router, remove the antenna protectors. Observe that each antenna port has a number. Carefully install each antenna one by one on the specified numbered port.
- Now that your antennas are connected, plug the Ethernet cable from your modem into the yellow Ethernet port in your AC2600 router.
If you have a network switch or other wired devices in your home or office network, connect them now via Ethernet cable right into the AC2600 router.
- Plugin the power cable and press the ON button (located in the back of the router).
- After are the lights power on, it’s time to setup the router using an internet browser either on a desktop/laptop computer or on your mobile device via WiFi.
The WiFi SSID username and password is located as a sticker right on top of your AC2600 router. Use those credentials to establish a connection. If you would like to use your computer instead, open your web browser (Firefox/Chrome/Safari), and type in http://192.168.1.1 and press enter.
- Whether your using your mobile device or computer at this moment, connect to the AC2600 routers administrator panel through the web browser and follow the setup wizard.
- You will have the option to change the existing routers WiFi username and password. If you want to keep your NETGEAR’s login credentials as is, you can skip that page and continue in the wizard.
- An option to download NETGEAR’s desktop software will be presented to you. This is optional and not needed to successfully connect to the internet.
- The setup will allow you to create a password for the administrator panel (where you can setup port forwarding, check the status of your internet connection, update the firewall, etc.) Default Username will be admin. Password is whatever you create.
- The wizard will also ask you to download the latest firmware update, select yes.
- Final step is to register your product online. This is recommended so that you can receive updates and firmware notifications. Keeping your router updated to the latest firmware is very important.
- Your setup is now complete. Now you can stream Netflix, do online gaming, and browse Netflix all at the same time without any latency issues. Enjoy your new or upgraded WiFi experience.


