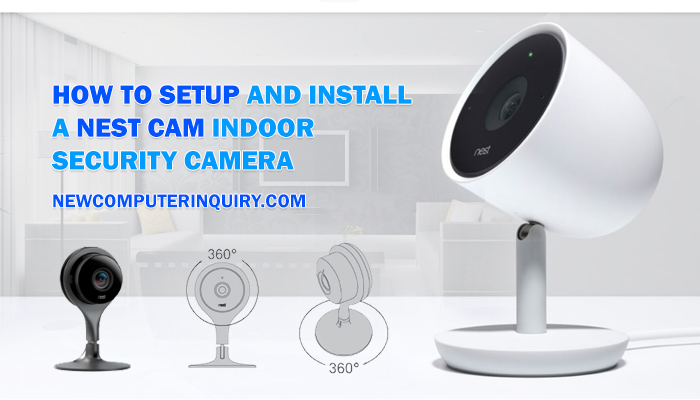
Nest indoor cameras provide an extra level of security and comfort to homeowners all around the world. The Nest Cam watches your home when you are away at work, vacation, a trip to the store, and more. The Nest Cam provides you with realtime up-to-date alerts via the mobile app when activity such as movement or sound from a person happens.
For those looking to get started with there Nest Cam device, below are instructions to follow to get you up and running.
Connecting the Nest Cam to the Nest (Mobile) App
- Head to your Google Play or Apple Store on your phone and search for then download the Nest App.
- Make sure that you have WiFi enabled on your mobile phone or tablet device.
- Open the Nest App and create an account.
- After your account is created, its time to add your camera.
- On the Nest App home screen, click on the Add New (plus) option.
- Scan the Nest Cam QR Code with your mobile phone. If there is a problem with scanning, choose the option to continue without scanning, this will allow you to enter the camera’s serial number and key manually.
- Done.
Setting Up Your Nest Cam Over Your Wireless Network
Don’t worry about mounting your camera at the moment. We are going to make sure your Nest Cam can communicate with the Mobile App.
- Plugin the Nest Cam into any power source.
- When the camera’s light blinks blue, that lets you know that the power is on and the camera is ready to be connected.
- Open the Nest App and allow the App to automatically scan for nearby WiFi networks.
- Select your Wireless Network. If your camera is going to be connected to a wireless extender, make sure that it is selected instead of your network router.
- After successfully connecting, the App will show your video stream. If you can successfully see the video stream, it’s time to mount your device.
Mounting Your Nest Cam
- For your Nest Cam to work correctly, you want to make sure that it is close to the wireless network device you selected. Make sure a wall outlet or surge protector is in reach.
- Decide if your camera will be placed on a flat surface or mounted to the wall.
- If setting up on a flat surface, simply place the camera anywhere you are comfortable having it. It can be on a bookshelf, table, dresser, entertainment center, etc.
- If you are mounting the camera, select the location in your home where you would like to have it positioned.
- After selecting the location and position for the camera, take the metal plate and install it on the wall. Make sure it’s a non-magnetic surface.
- Place the camera on the metal plate and adjust the camera angle to the desired view.
- Using the mobile app, check to see if your camera is still connected to your wireless network and if the viewing angle is to your liking.
Was this guide helpful? If you have any further questions on how to set up your Indoor Nest Cam, feel free to drop a comment below. Thanks for reading.

